Mapvision
Q-Series
Inspect Automotive Parts in 30 Seconds
The Mapvision Q-Series integrates dimensional measurement, presence check, and weld seam inspection into one multi-camera system. Utilizing advanced image processing algorithms, it inspects complex parts in 30 seconds. Data visualization and robust traceability capabilities enhance quality control and process optimization.
TECHNOLOGY
How It Works
-
The Setup
-
Capture Images
-
Save to Database
-
Inspect Images
-
Analyze & Manage
-
Retroactive Inspection
The Setup
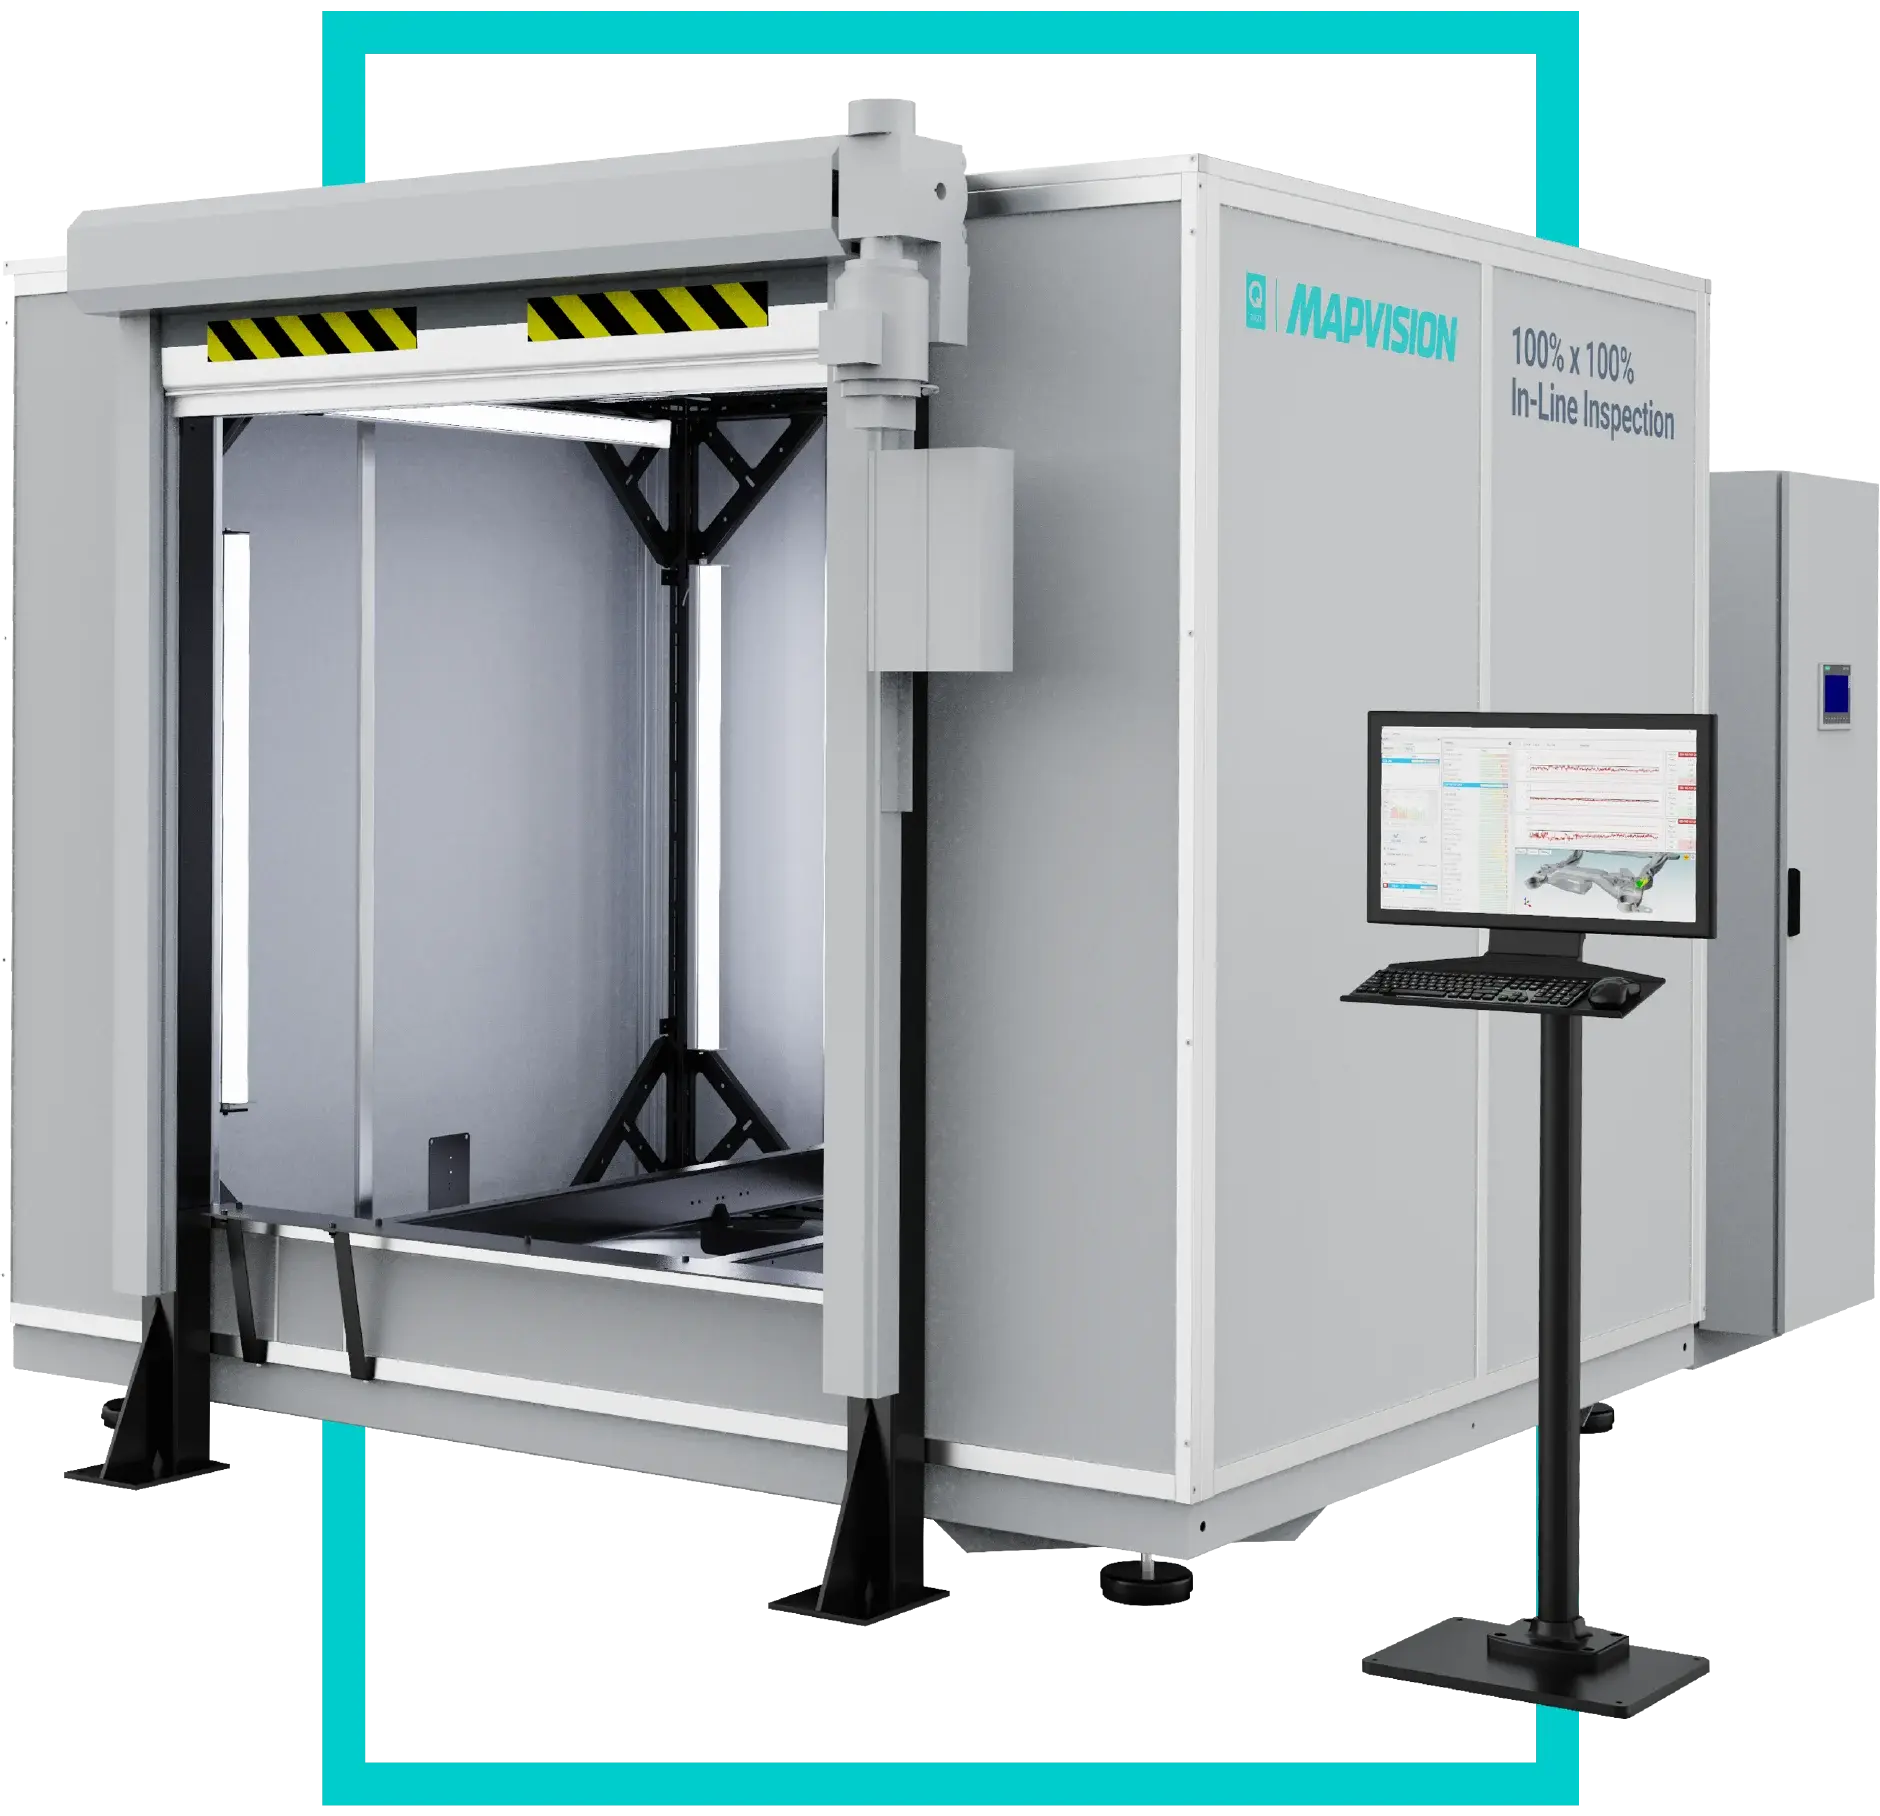
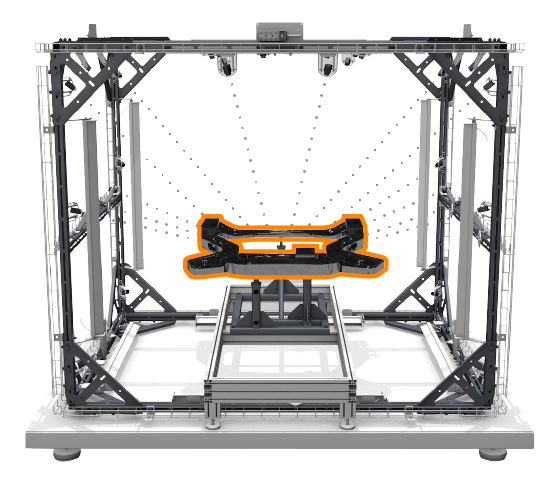
The Mapvision Q-Series conducts dimensional measurement and presence check within a controlled environment. The enclosed inspection area shields against factory floor ambient light interference. The system employs dedicated lighting to ensures optimal illumination for image capture.
Capture Images
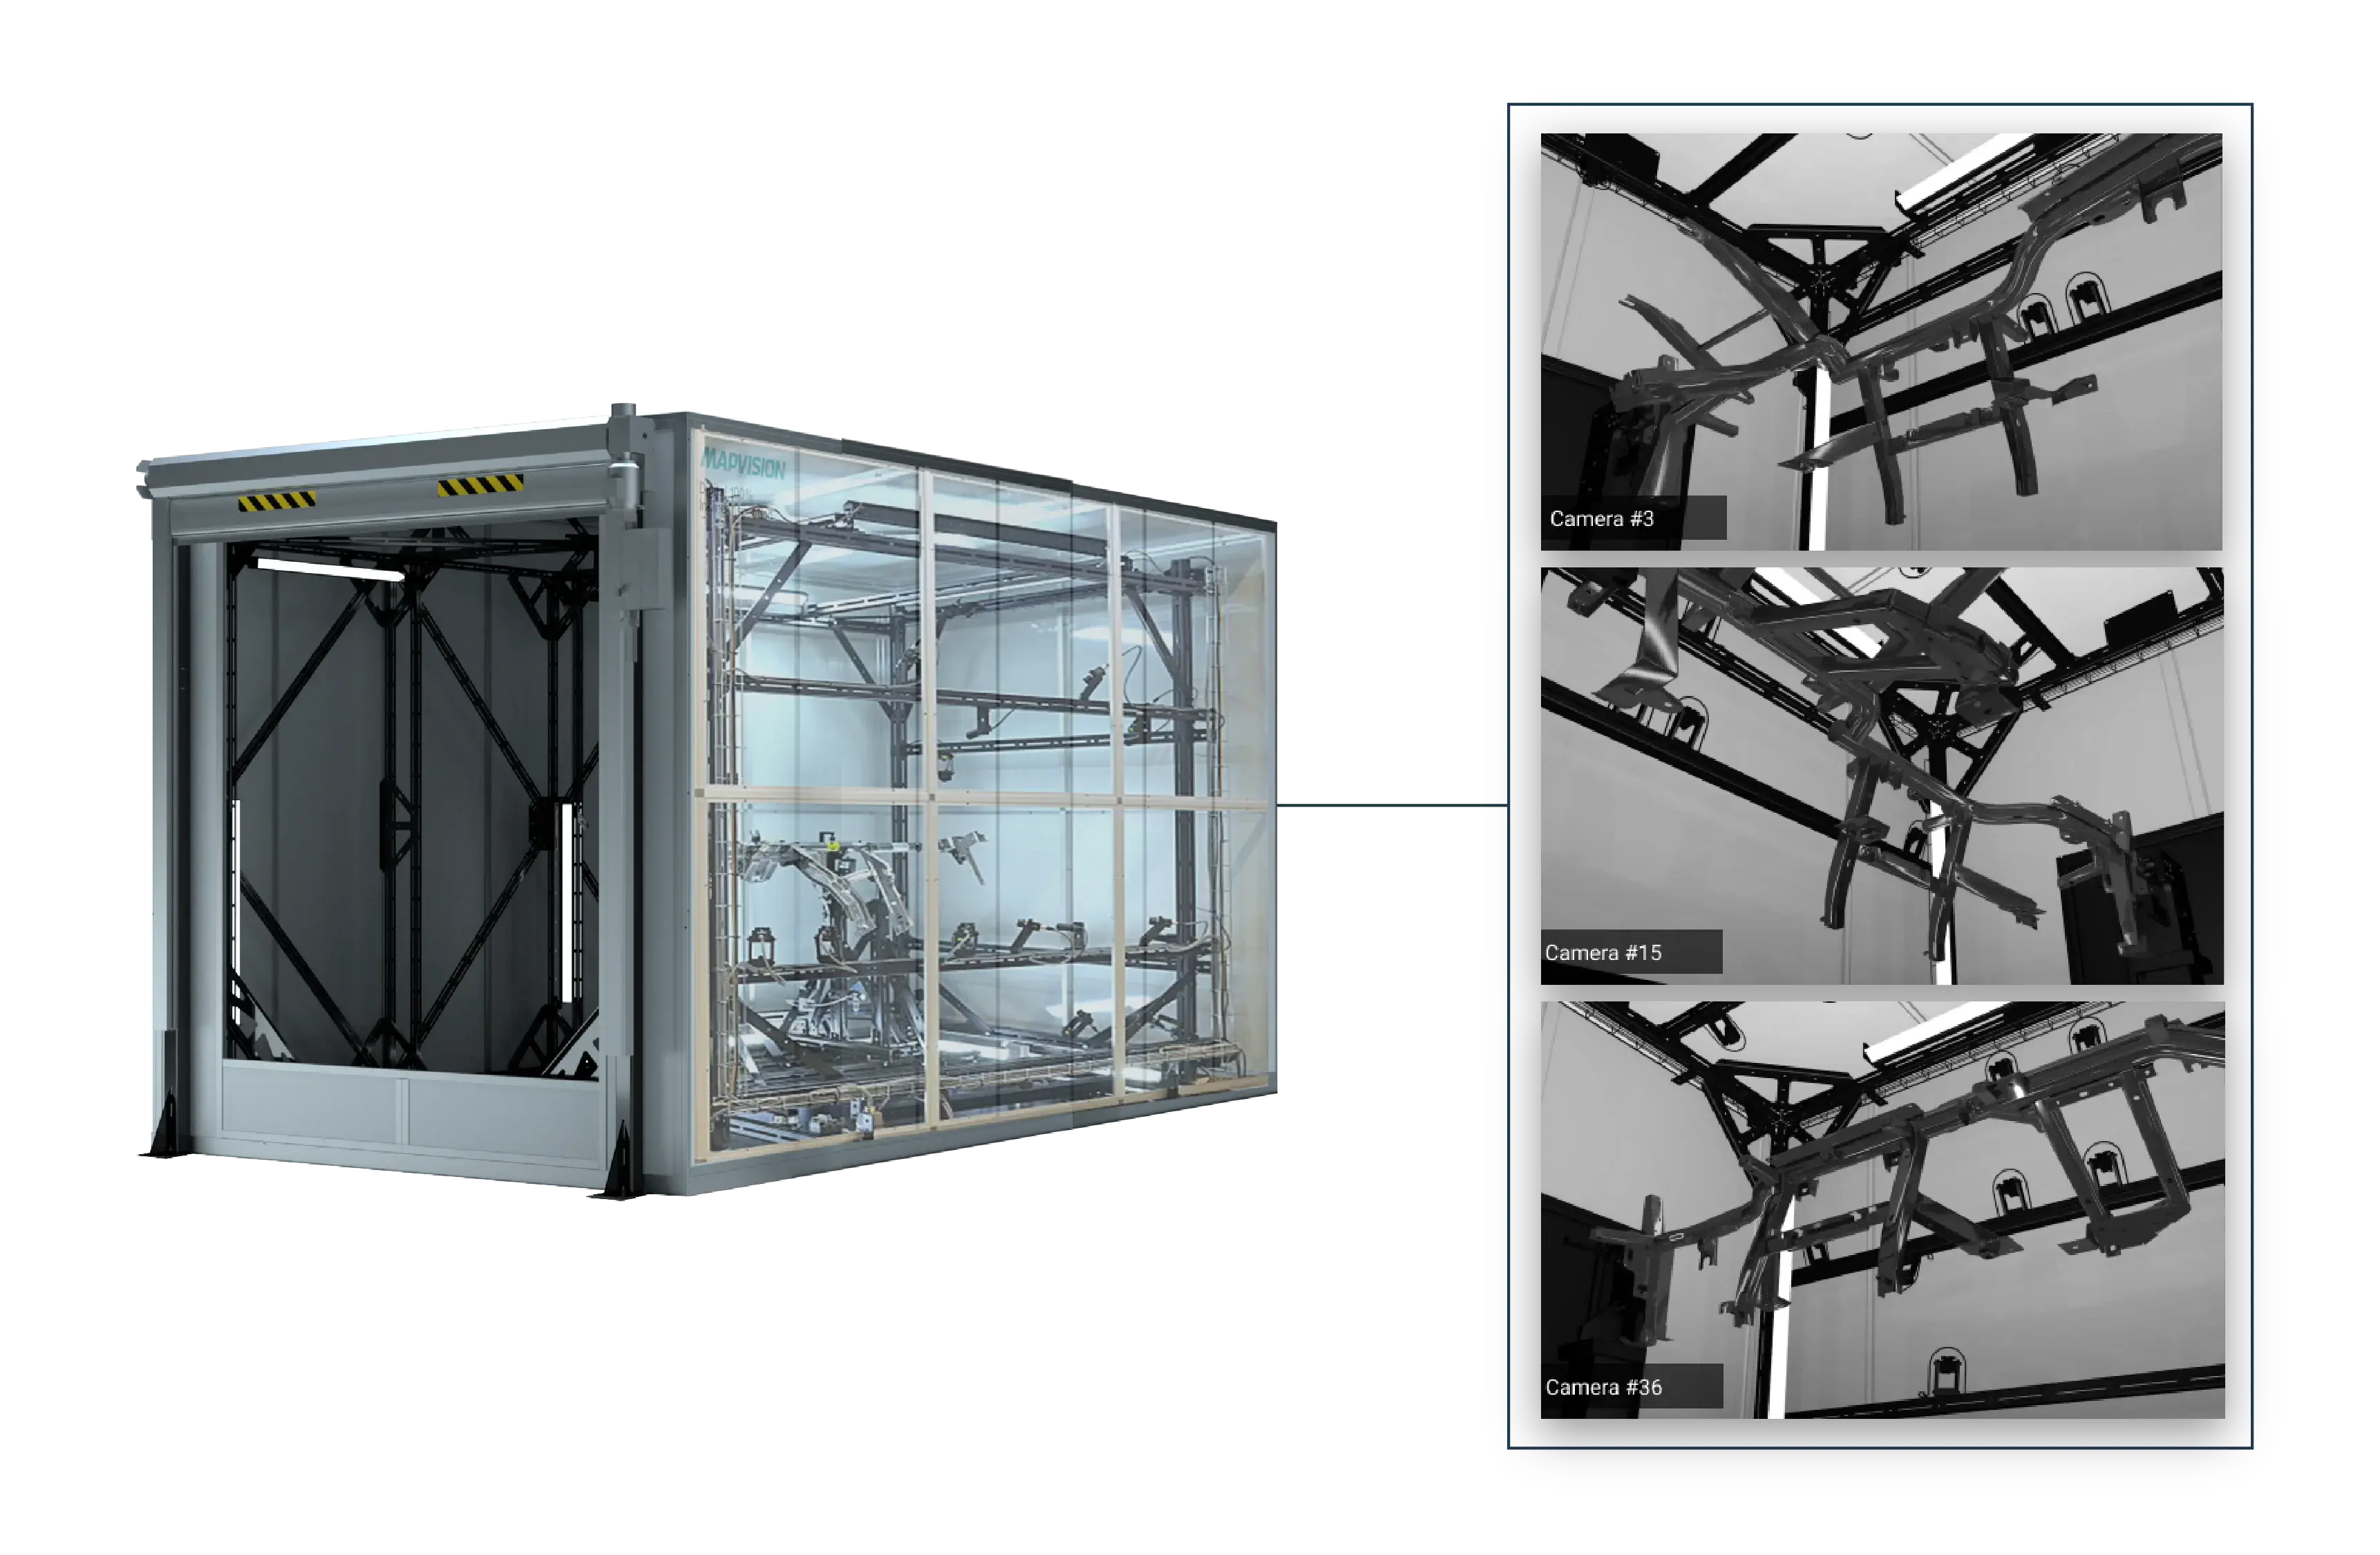
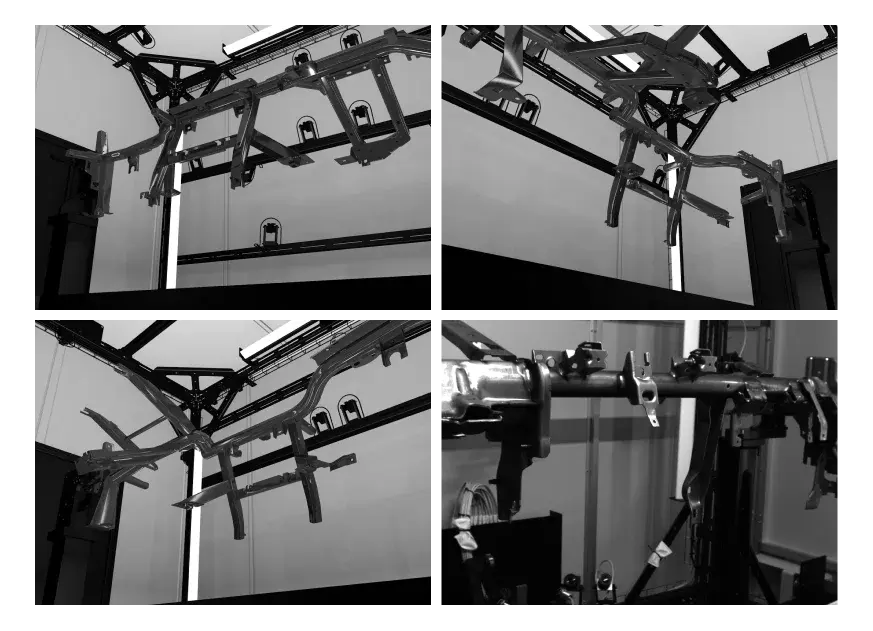
An extensive set of fixed cameras captures images of the whole inspection volume and features from multiple angles – providing a complete model of the part and all the inspection points in detail within a few seconds.
Save Images to Database
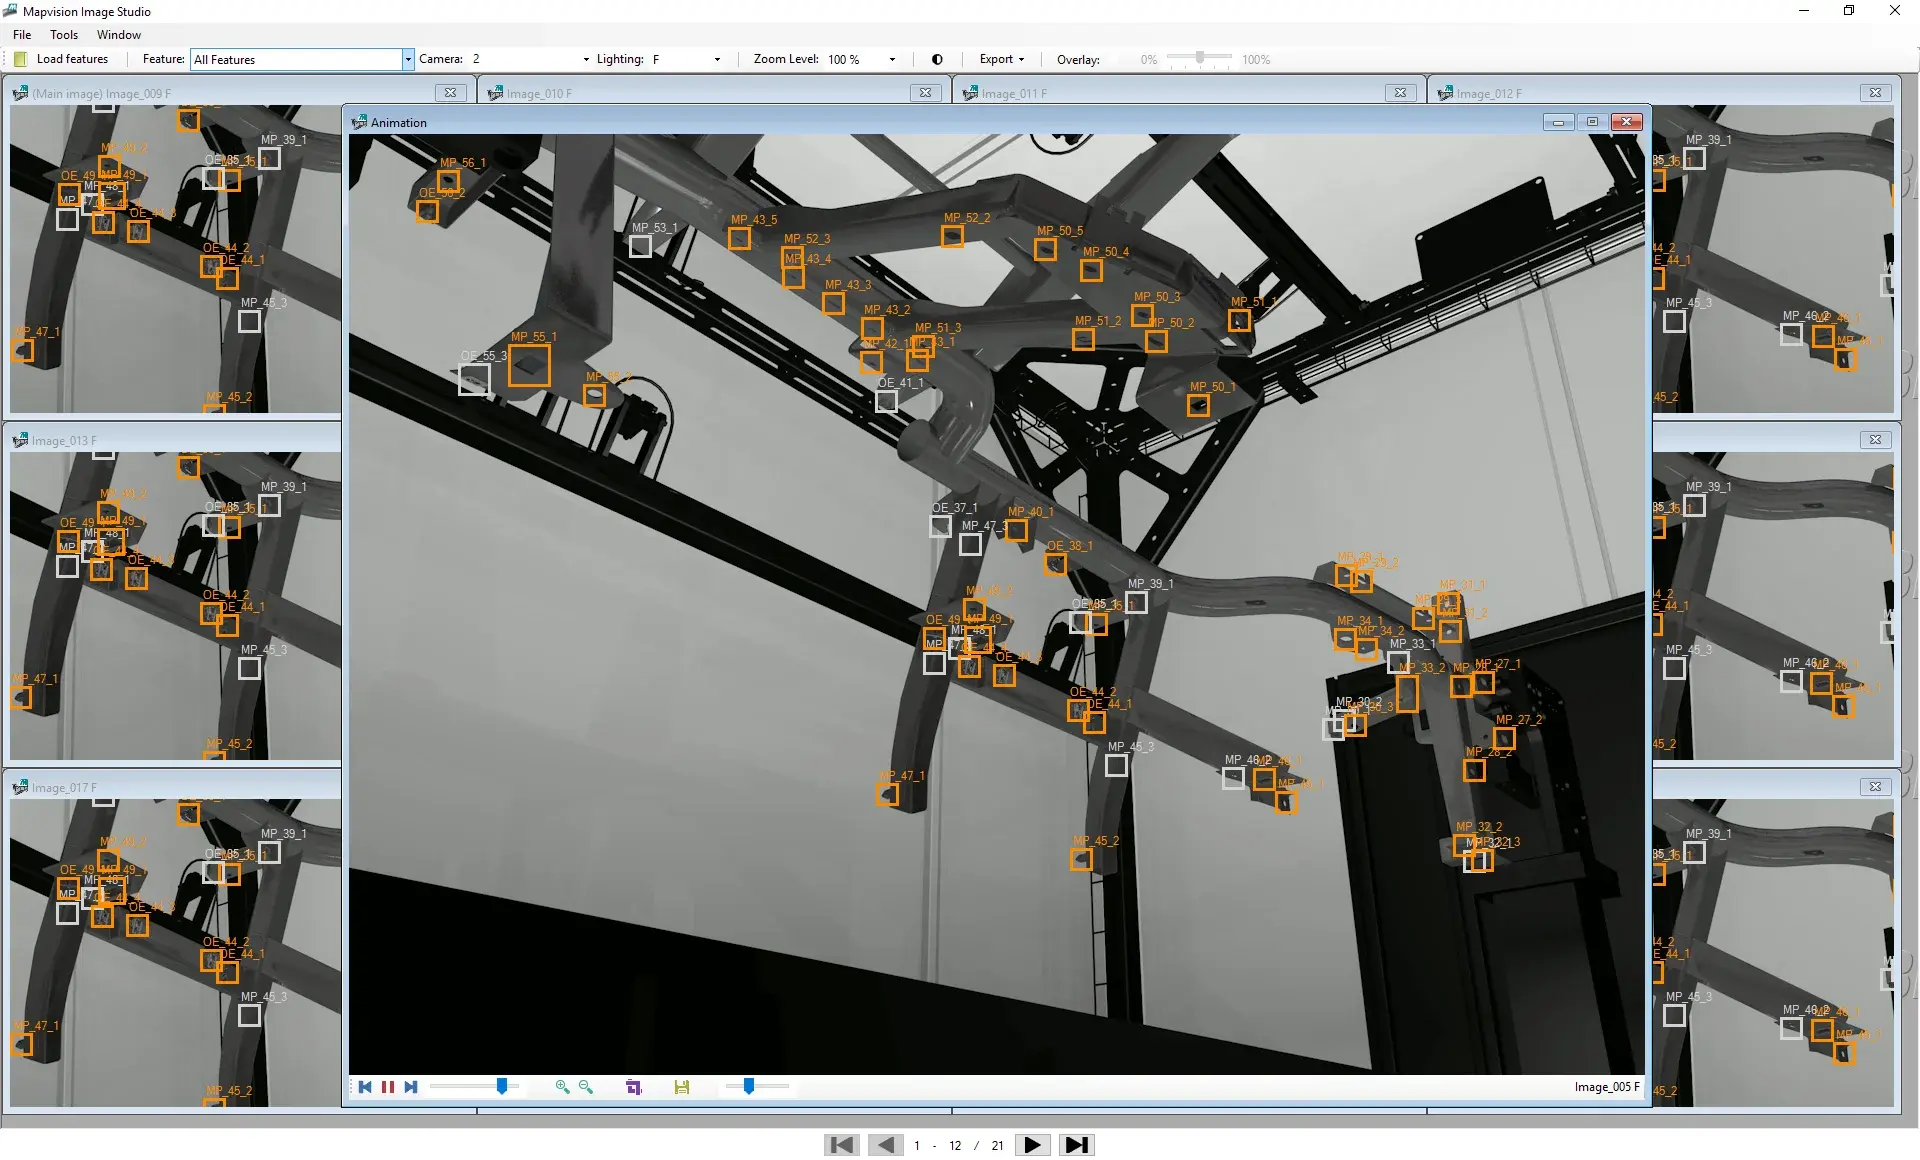
Images are saved to the image database of the measurement unit to be passed to Mapvision's inspection algorithms.
Inspect the Images
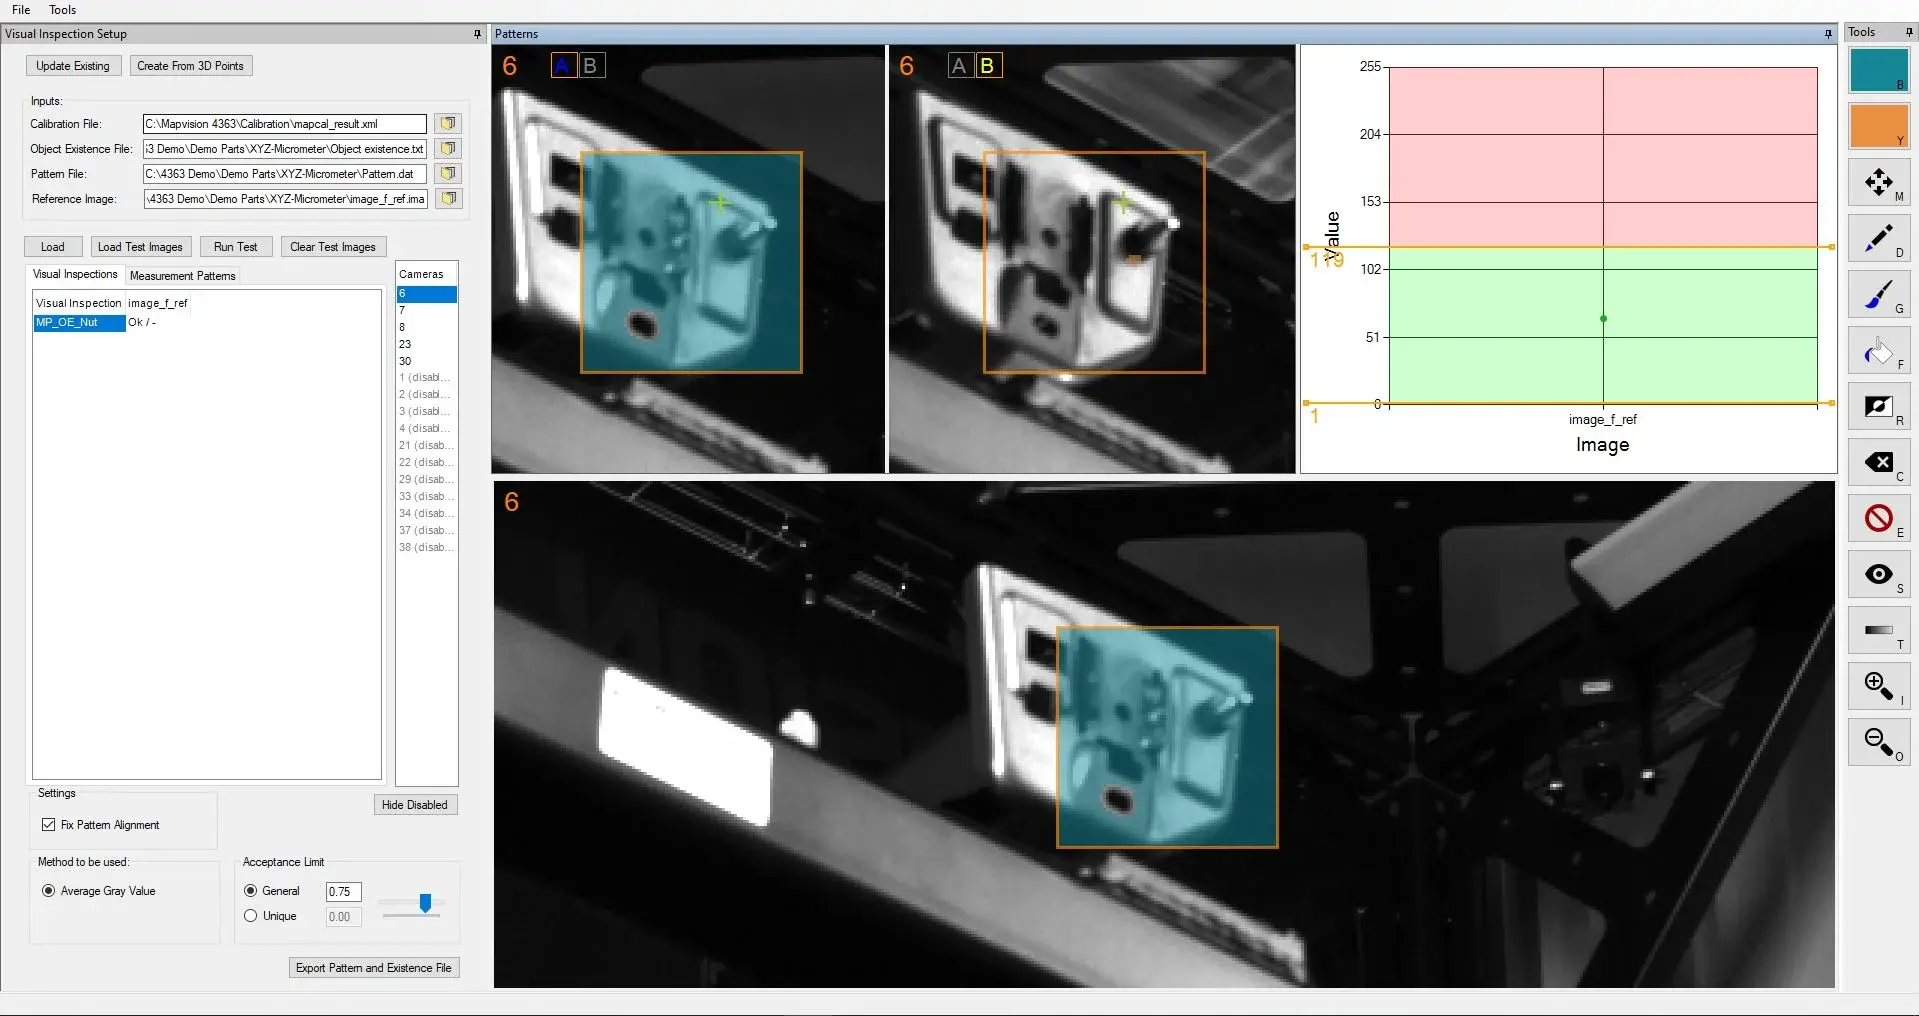
Mapvision's powerful machine vision and photogrammetry algorithms conduct the geometric measurements and presence check of the features directly on the images – removing the need for the physical part once the images are collected.
Analyze and Manage
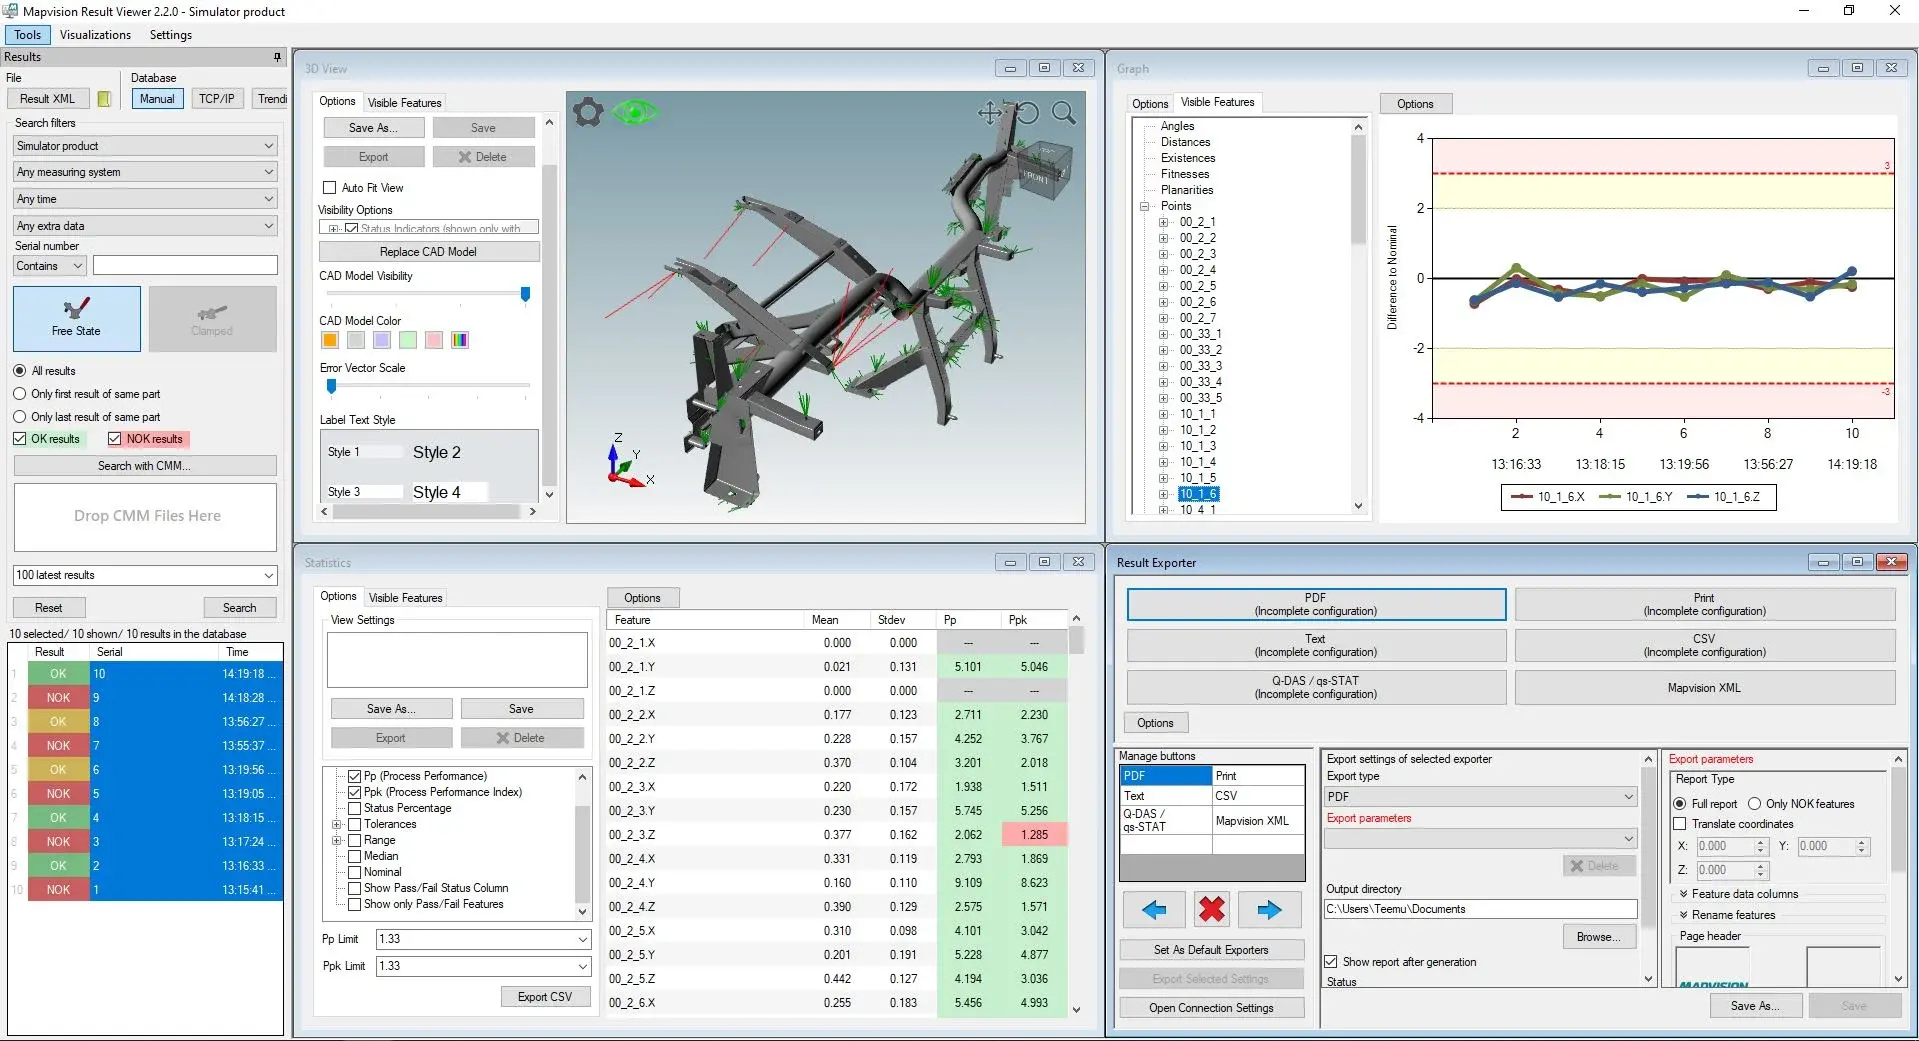
Inspection results are made available in real-time to conduct deep-dive analysis. Users can adjust the measurement program, add new inspection points, and even manage the whole process remotely at any point.
Retroactive Inspection
Users can go back to the database to inspect completely new features or to re-run inspection for modified specifications even if the parts are not physically available anymore in their premises since all inspections are conducted on the images collected from the whole volume of the part.

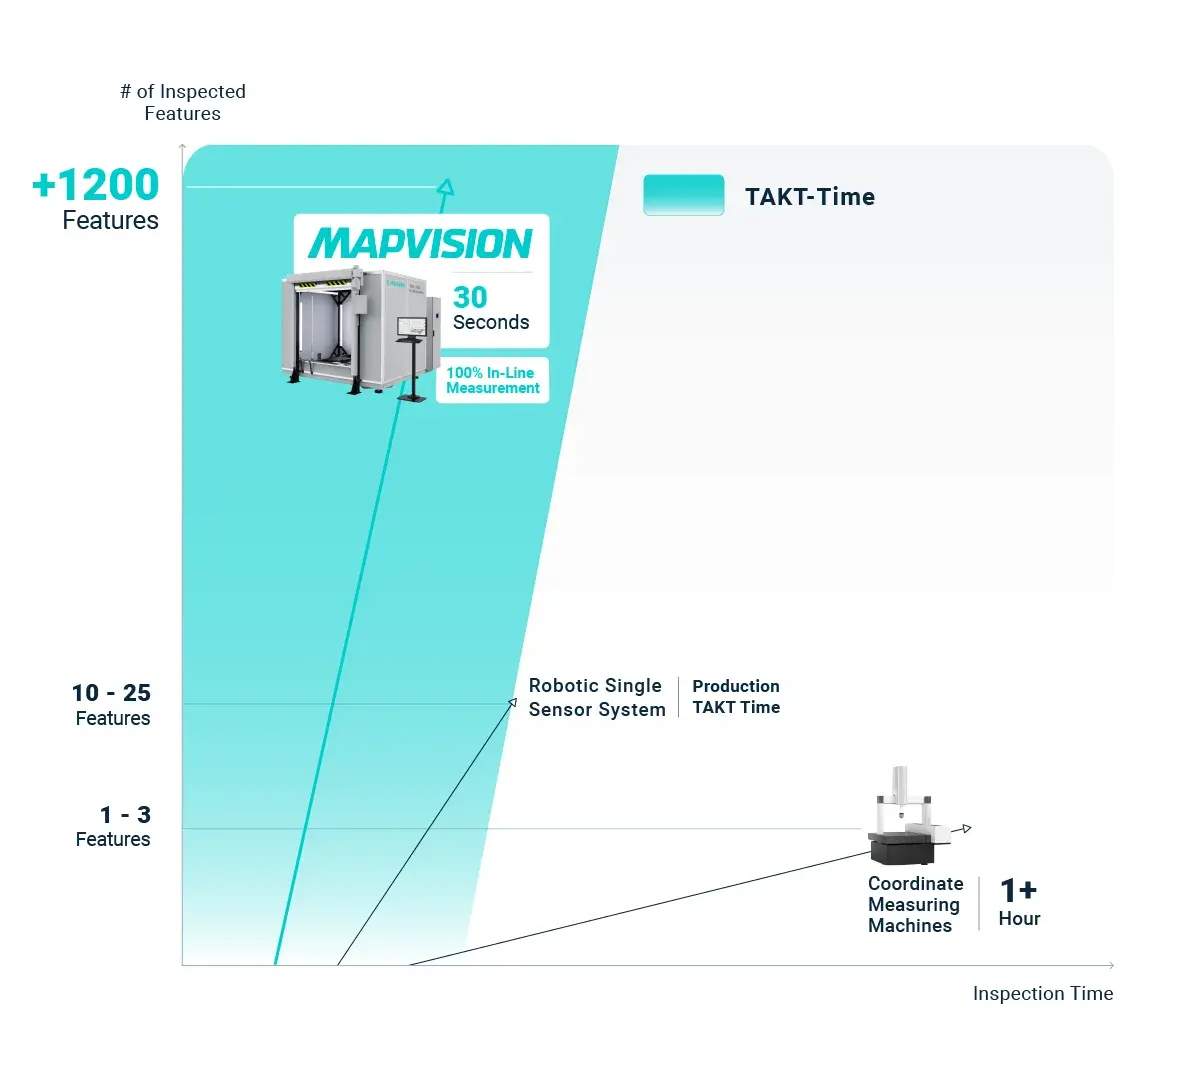
1200+ Inspection Points in 30 Seconds
Inspect 1200+ inspection points in 30 seconds – empowered by Mapvision’s patented machine vision and photogrammetry algorithms.

3D Geometric Measurement and Presence Check
Collect GD&T calculations, 3D position measurements, and presence check results in the same inspection time for each part and all features.

Eliminate CMM
Correlation Studies
Eliminate your dependence on CMMs, correlation studies, and reference parts. Use the 3D CAD model of the part as a measurement reference and achieve CMM-level accuracy without the hassle.

Safe Quality
Containment
Detect every out-of-spec part as soon as they are produced. Deliver only OK parts, avoid OEM line shutdowns, and eliminate expensive warranty claims. Eliminate the need for manual internal sorting and reduce the cost of quality while building a reputation for 100% delivery performance.

Real-Time
Process Analytics
Monitor your process performance for each feature, component, and production cell in real time. Reduce internal PPMs, cut downtime, and increase OEE by identifying process deviations and conducting root causes without delay. Cut rework with sustained process stability.

Advanced
Traceability
Associate each part produced with its whole production history. Create a complete memory of your production for advanced part traceability and retroactive inspection. Eliminate OEM sorting, avoid batch recalls, and measure parts that are no longer physically available on your premises.
100% In-line Inspection in 30 Seconds
The Mapvision Q-Series enables 100% in-line inspection within the production TAKT time, even when inspecting a thousand of features. The whole process—from capturing images to inspecting and delivering results—takes only 30 seconds, achieving an efficiency level that traditional inspection systems cannot reach.
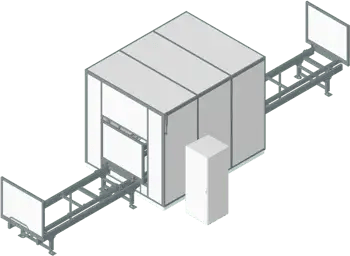
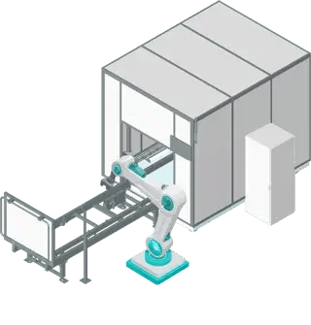
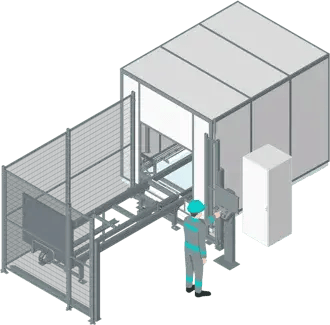
Loading Options
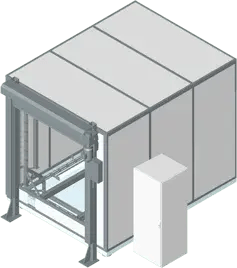
DOUBLE DOOR
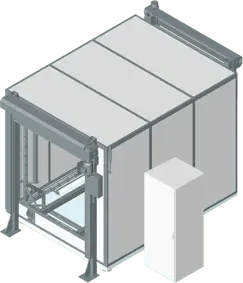
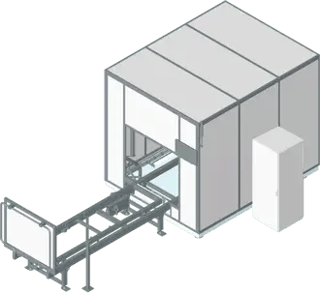
DOUBLE SHUTTLE
AUTOMATIC LOADING
MANUAL LOADING
System Dimensions
-
S to Standard System Sizes
-
W to 5W System Sizes
-
L to Max System Sizes
-
Custom System Sizes
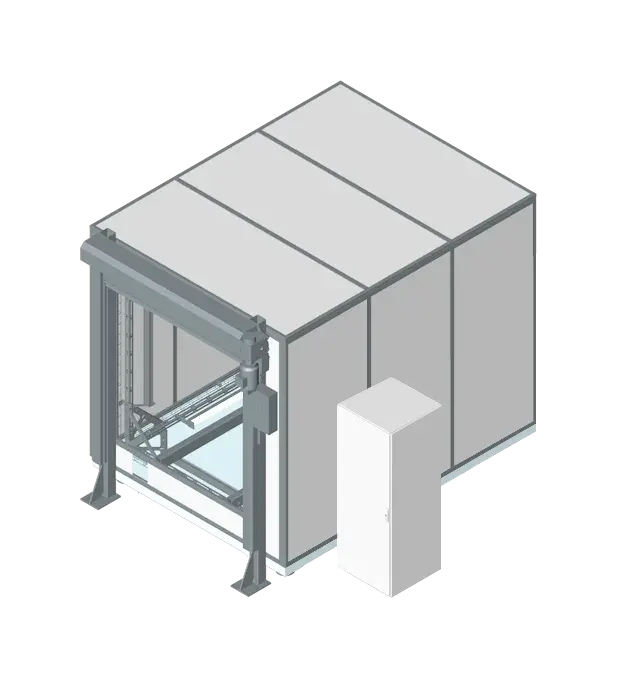
SYSTEM SIZE | S
Length (mm): 1670
Width (mm): 2220
Height (mm): 2610
SYSTEM SIZE | STANDARD WIDE
Length (mm): 2220
Width (mm): 2840
Height (mm): 2610
SYSTEM SIZE | STANDARD LONG
Length (mm): 2840
Width (mm): 2220
Height (mm): 2610
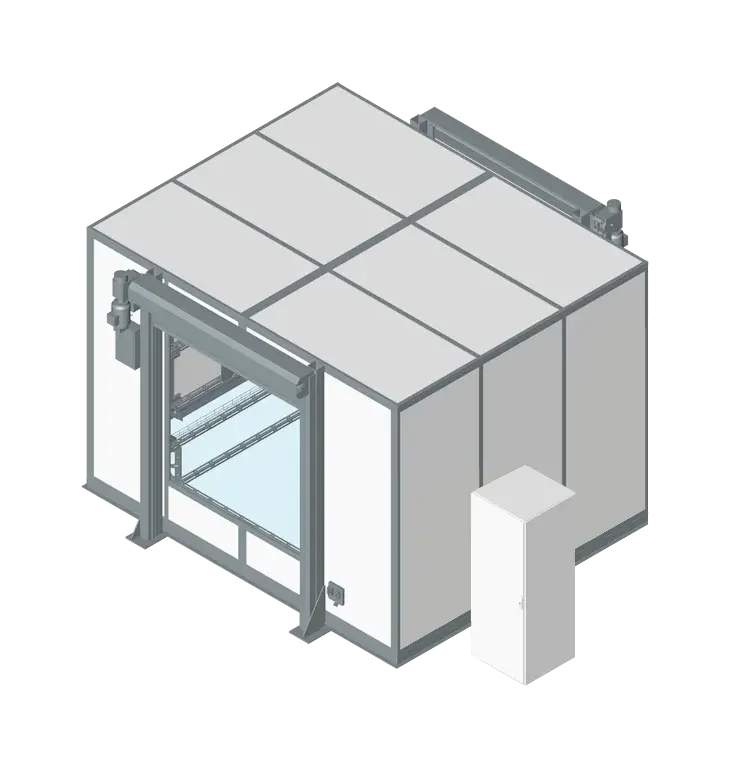
SYSTEM SIZE | W
Length (mm): 2840
Width (mm): 2400
Height (mm): 2610
SYSTEM SIZE | 2W
Length (mm): 2840
Width (mm): 2580
Height (mm): 2610
SYSTEM SIZE | 3W
Length (mm): 2840
Width (mm): 2760
Height (mm): 2610
SYSTEM SIZE | 4W
Length (mm): 2840
Width (mm): 2940
Height (mm): 2610
SYSTEM SIZE | 5W
Length (mm): 2840
Width (mm): 3120
Height (mm): 2610
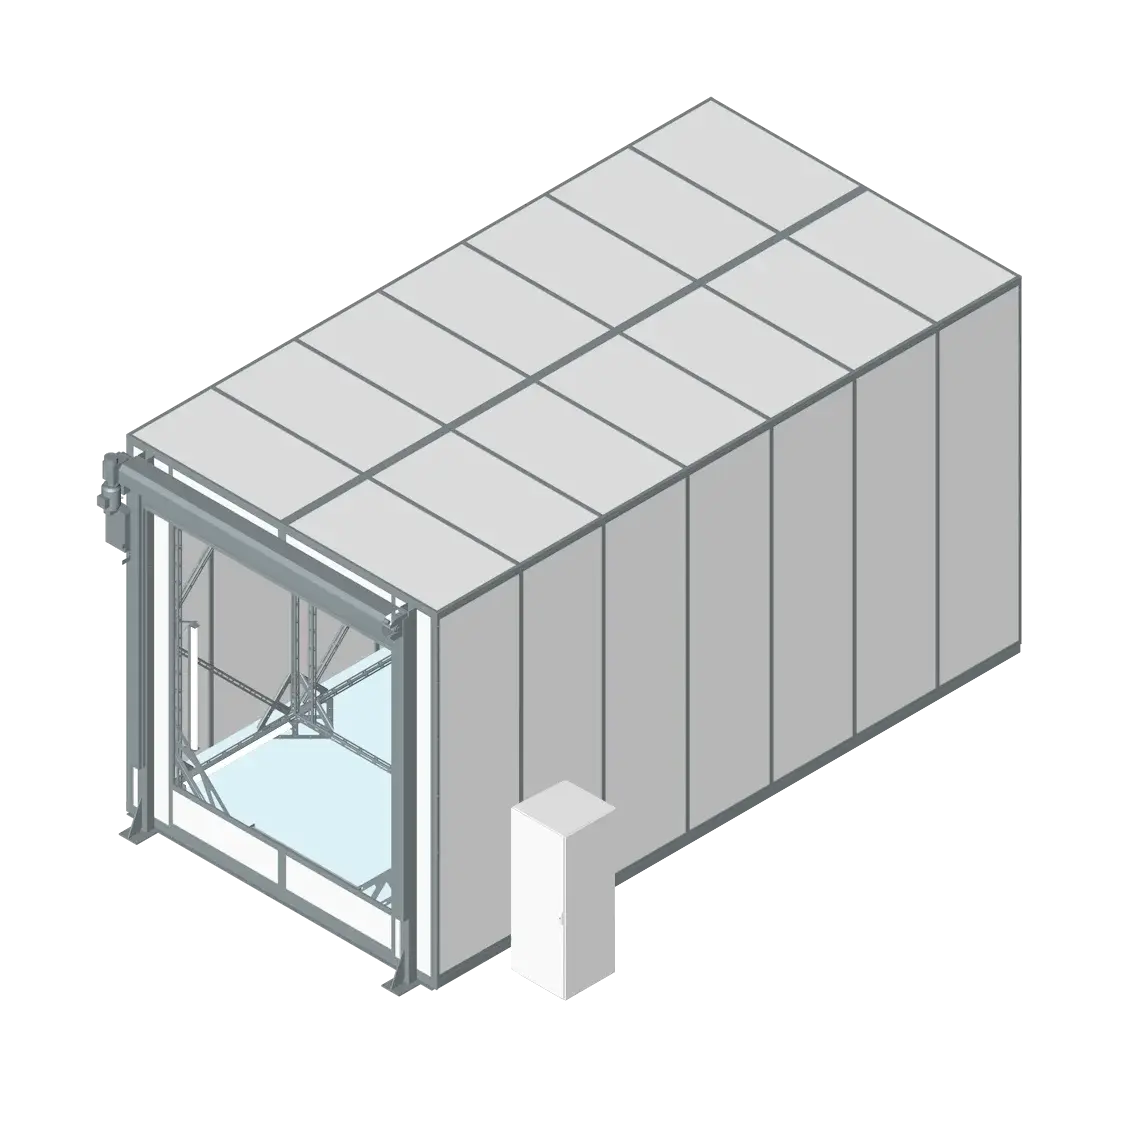
SYSTEM SIZE | L
Length (mm): 3220
Width (mm): 2220
Height (mm): 2610
SYSTEM SIZE | 2L
Length (mm): 3600
Width (mm): 2220
Height (mm): 2610
SYSTEM SIZE | MAX
Length (mm): 3600
Width (mm): 3120
Height (mm): 2610
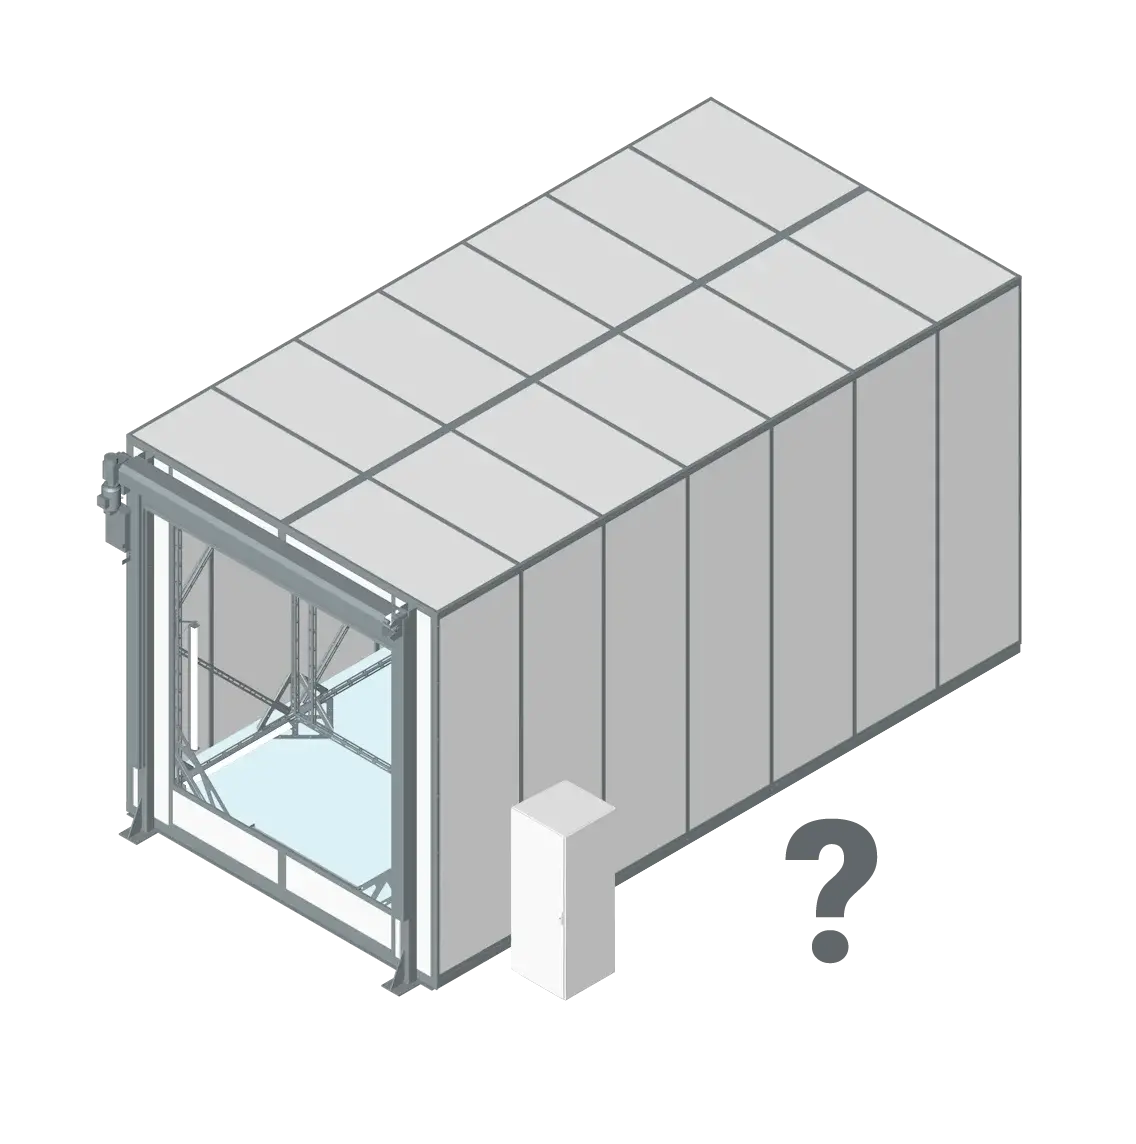
Custom Sized System
Through our customization program, you can get both custom-sized inspection systems (larger and smaller). We have already created special versions of Mapvision inspection systems for large automotive structures, such as body-in-white, underbodies and EV battery trays and more.
Battery Modules
Inspects complex parts of all sizes in 30 seconds.
EV Battery Tray Inspection
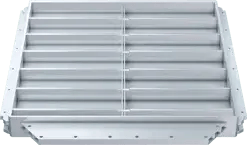
1200+
Features Inspected
30 seconds
Inspection Time
EV Battery Module Inspection
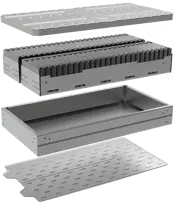
800+
Features Inspected
35 seconds
Inspection Time
Cross Car Beam Inspection
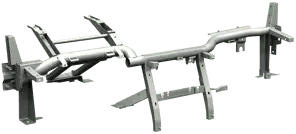
200+
Features Inspected
30 seconds
Inspection Time
Subframe Inspection
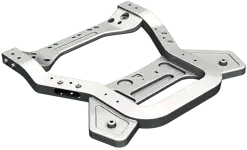
150+
Features Inspected
30 seconds
Inspection Time
Body-in-White (BiW) Inspection
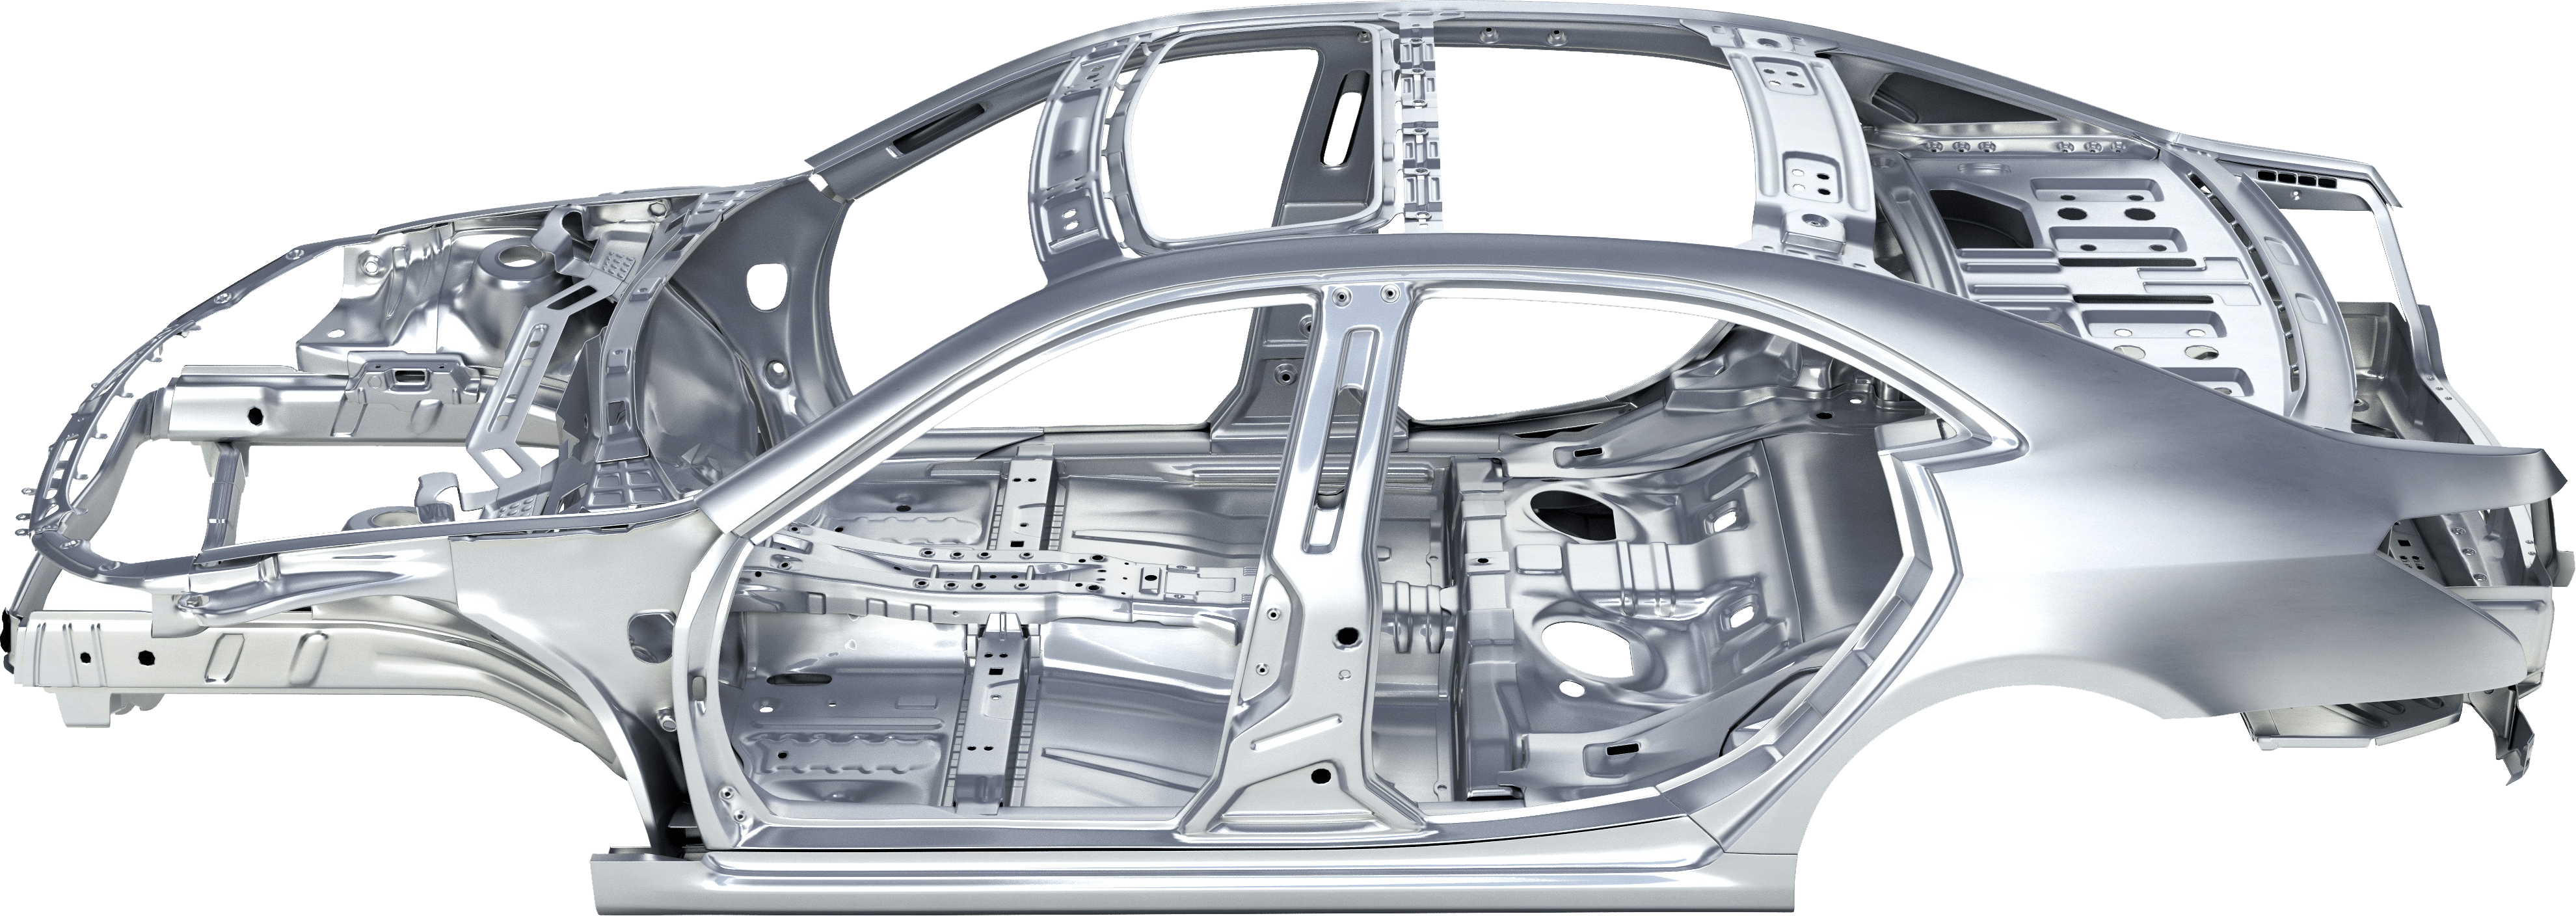
500+
Features Inspected
35 seconds
Inspection Time
Mapvision
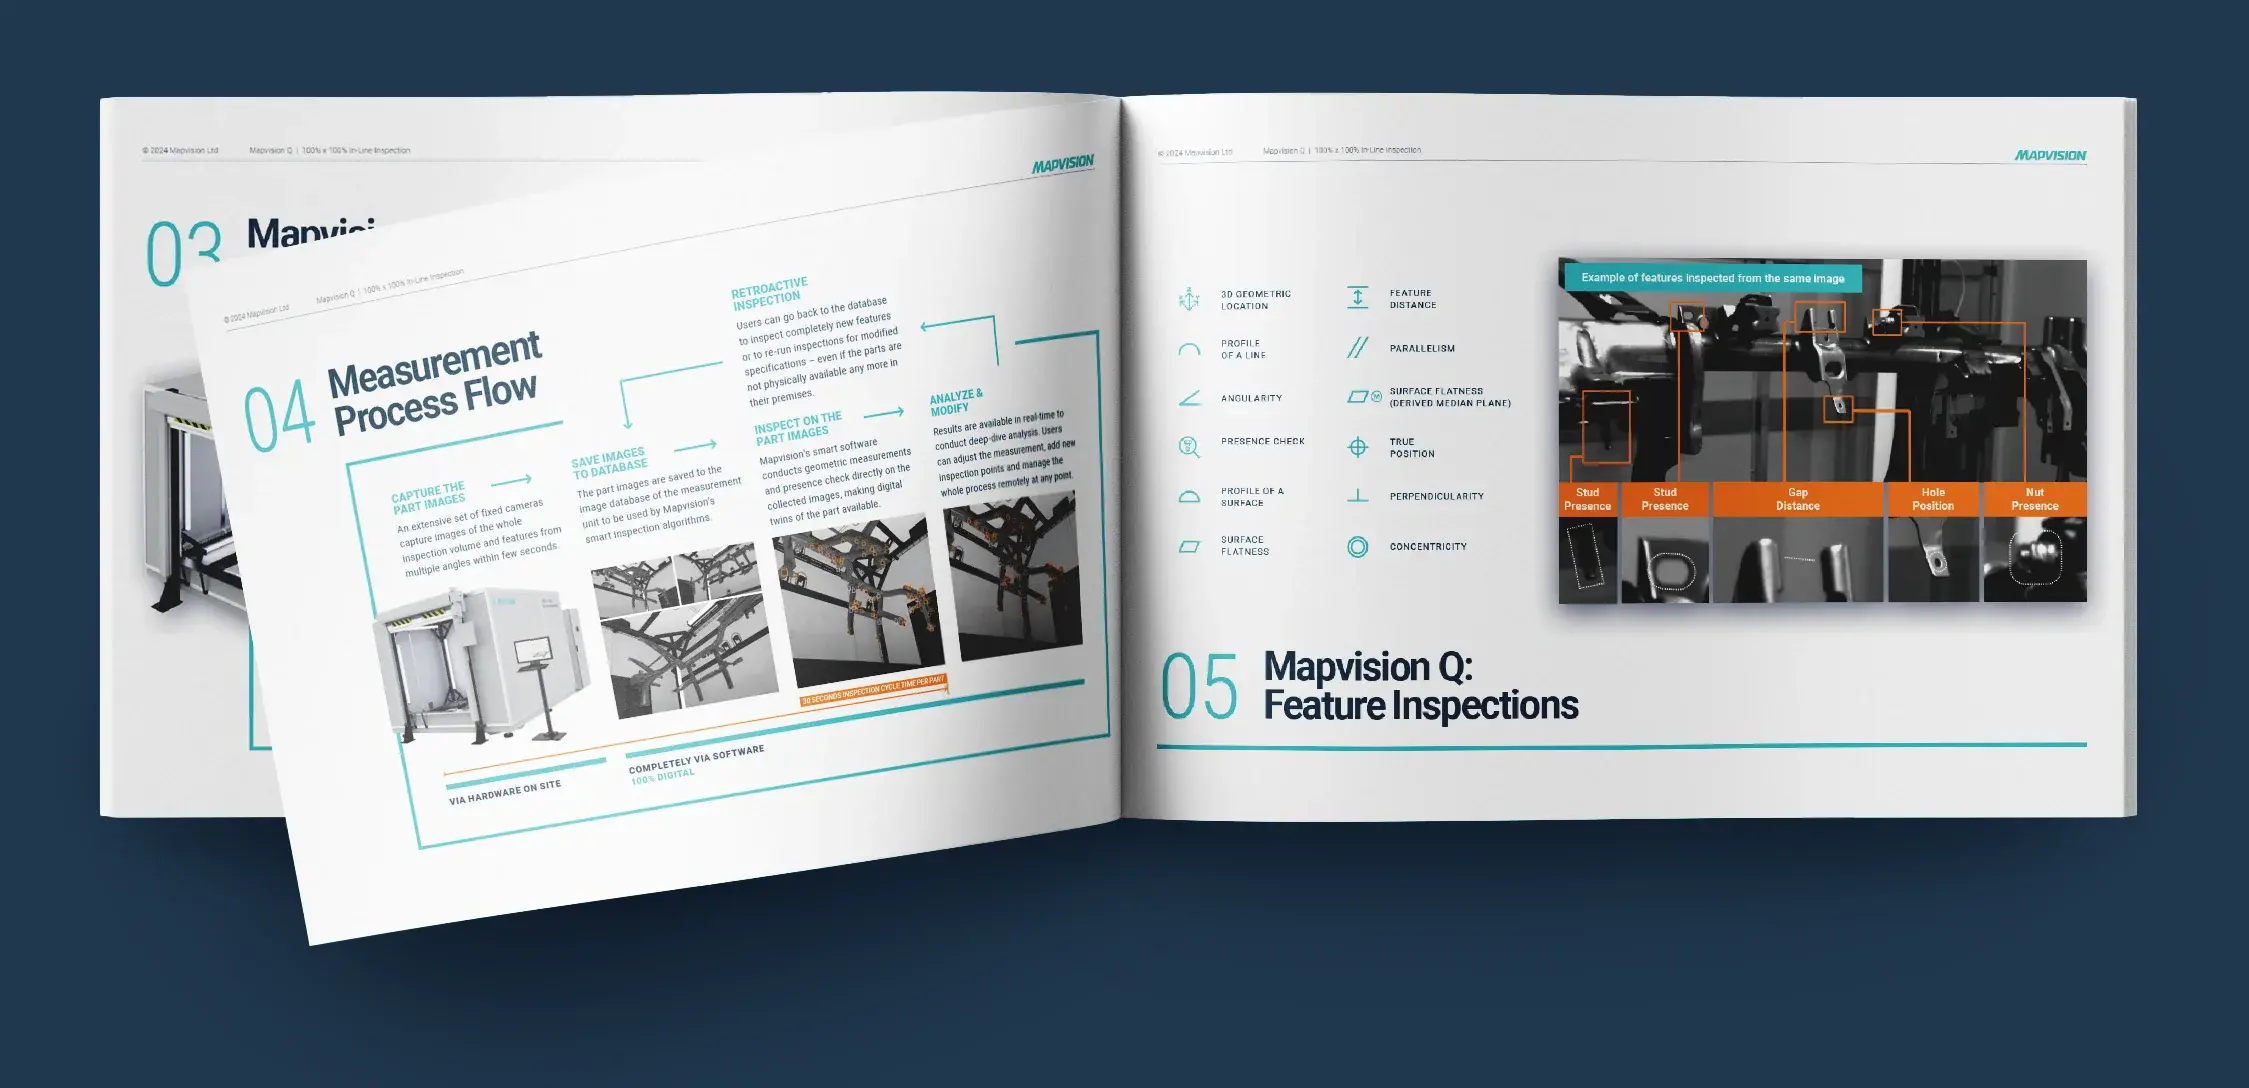
Q-Series Brochure
Learn more about Mapvision Q-Series' advanced solutions by downloading our brochure. Discover how our technology can streamline your workflow, cut costs, and elevate your competitive edge.
Don't miss out—click below to download now.
