Technology

Absolute Measurement: Deploying the Inspection Program

In this article, we take a look at how simple and fast it is to program the Mapvision inspection system with Absolute Measurement.
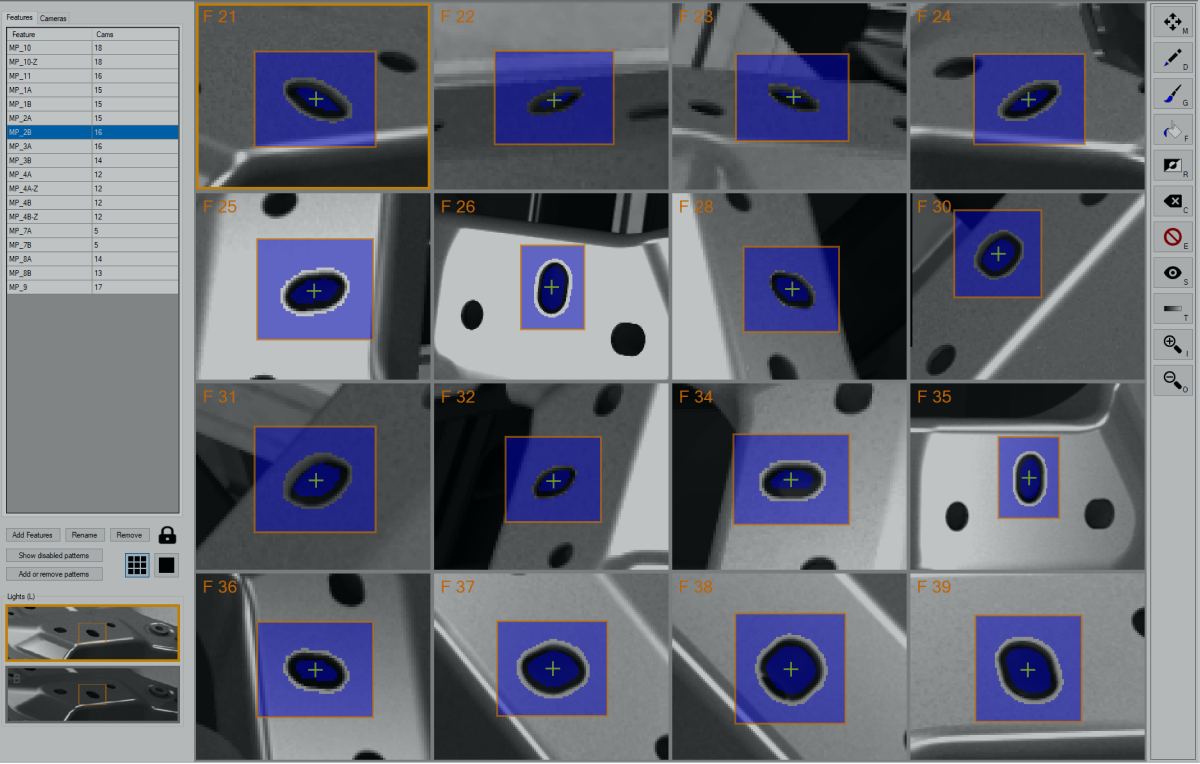

In previous articles, we discussed how Absolute Measurement changes the game by removing the need for CMM correlation studies. In this article, we take a look at what it actually looks like to program a Mapvision Absolute Measurement system for new inspection points—and it is surprisingly simple!

All you need is:

  1. Mapvision Editor Suite
  2. 3D CAD model of the inspected part
  3. Rendered 2D reference images of the CAD model within the simulated Mapvision Q inspection system (Don't worry. Our software generates this for you).

You simply define the features you would like to measure on the 3D CAD model along with the tolerances.

picking feature small 2

After that, the simulator automation will generate the machine vision programming for you.

create pattern small 2

Then you just swap in the rendered reference images as the last step.

CAD pattern

New features can be added in this manner in 10 minutes or so. And full variants in about 40 minutes. This really is pick and deploy!

This new level of programming speed is possible with the system setup where we use a 3D CAD model of the part we want to inspect in a simulated Mapvision Q. Naturally, the 3D CAD models should be up-to-date to take advantage of this new kind of work flow.

If you have any questions how Mapvision Absolute Measurement can help you with your quality control process, get in touch with our experts.


Similar posts